1. Download the macOS build
The download page only shows a real button for a platform with an available package: macOS 14+ on Apple Silicon. It reads latest.json and prefers download_url or dmg_url when present; otherwise it falls back to a static link.
If macOS blocks the first launch as an unidentified developer, right-click Mycel in Finder and choose Open. That is not a notarization promise — the release pipeline still needs the owner-side Apple and release secrets run end to end.
2. Open your Markdown or Obsidian vault
- On first launch you can use the starter vault, or open your own knowledge-base folder from the home entry points.
- Mycel reads the selected local Markdown folder. Dot directories such as
.obsidian/are not treated as content notes. - The starter vault’s
AGENTS.mdtells external agents that Markdown is the source of truth, and that content edits should go through proposals — never silent direct writes.
3. Learn Today first
- After opening a vault, land on Today. Read the greeting, the 30-day growth curve, and the Waiting on you cards so you know where Mycel surfaces decisions.
- The current navigation is grouped into five buckets: Today, To handle, Knowledge, Tasks, and Agent.
4. Connect your first agent
The desktop package ships a native MCP stdio entrypoint: chunfeng mcp. Most MCP clients share the same JSON shape; Codex uses TOML.
chunfeng is Mycel’s internal executable name (crate / app binary). Copy it exactly in MCP configs — do not rename it to mycel or the connection will fail.
{
  "mcpServers": {
    "chunfeng": {
      "type": "stdio",
      "command": "/Applications/Mycel.app/Contents/MacOS/chunfeng",
      "args": ["mcp"]
    }
  }
}
[mcp_servers.chunfeng]
command = "/Applications/Mycel.app/Contents/MacOS/chunfeng"
args = ["mcp"]The in-app MCP settings panel shows client registration and bridge status. Still verify the written MCP config on your own machine once.
5. Pick an agent and model
- Open the Agent workspace inside Mycel and choose one installed local agent.
- If that agent supports local model discovery, choose a discovered model. If not, Mycel falls back to a static suggestion list.
6. Submit the first proposal
- Give the agent a small task — for example, “add a short summary to the current note and submit it with
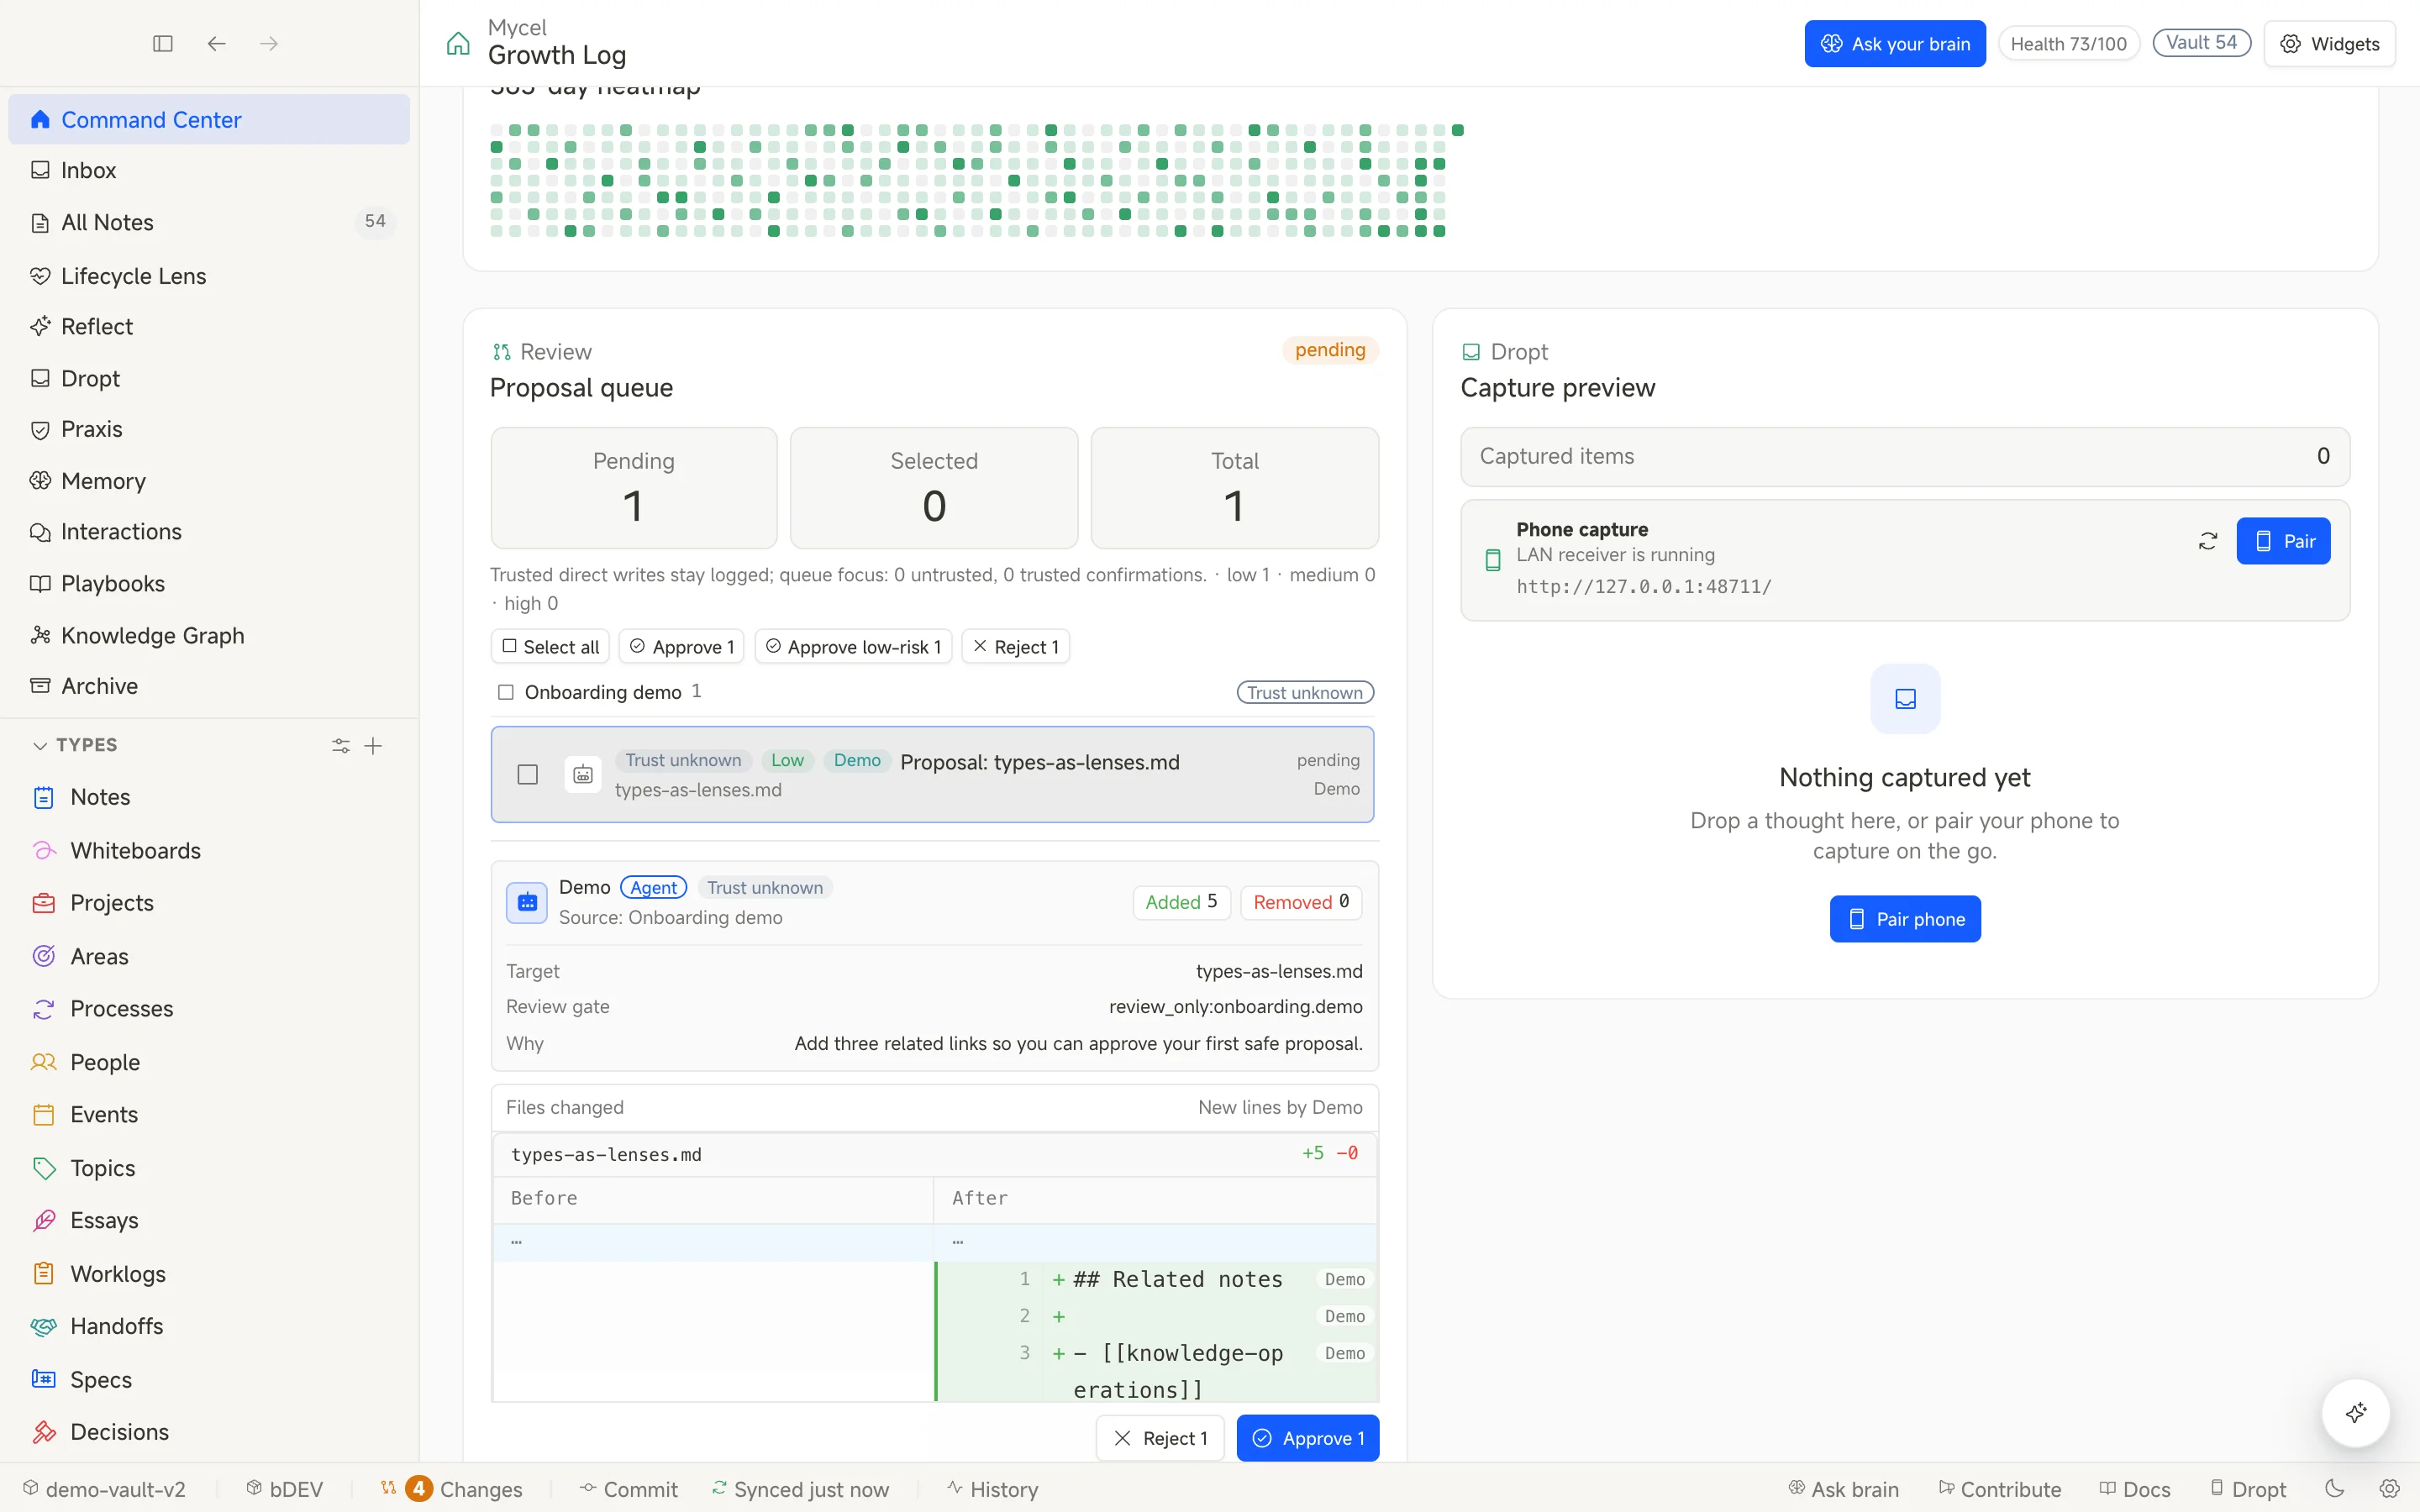
propose_edit; do not edit the file directly.” - Open To handle → AI Proposals, or use the Today action card CTA, then expand the pending proposal and review the diff, target path, agent, reason, and risk markers.
- Approve when it looks right; otherwise reject with a reason. Rejection goes through the backend
reject_proposalcommand — the frontend does not silently rewrite Markdown status. - To revert an approval, use Undo in the Proposal Queue. Undo depends on the previous-content snapshot recorded at accept time and on git history.
7. Next steps
After the approval loop works, read Capture and Governance. If you only need to self-host the relay, go straight to Self-host relay.